Accessing your Raspberry Pi remotely is a powerful way to manage and interact with your device from anywhere in the world. Whether you're a beginner or an advanced user, understanding how to set up a free remote connection for your Raspberry Pi can unlock countless possibilities for your projects.
In today's digital age, remote access has become an essential tool for managing devices, especially for tech enthusiasts who rely on Raspberry Pi for various applications. This guide will walk you through everything you need to know about setting up a free remote connection for your Raspberry Pi, ensuring that you can control it from anywhere without breaking the bank.
From basic configurations to advanced troubleshooting, we'll cover all aspects of remote connectivity. By the end of this article, you'll have the knowledge and tools necessary to establish a secure and reliable connection to your Raspberry Pi remotely.
Read also:Unleashing Creativity With Heavy Weight Cardstock Paper
Table of Contents
- Introduction to Free Remote Connection Raspberry Pi
- Raspberry Pi Basics
- Methods for Free Remote Connection
- Setting Up Remote Access
- Security Best Practices
- Troubleshooting Common Issues
- Recommended Tools and Software
- Comparison of Remote Access Methods
- Use Cases for Remote Raspberry Pi Connections
- Future Trends in Remote Access Technology
- Conclusion
Introduction to Free Remote Connection Raspberry Pi
Raspberry Pi has become one of the most popular single-board computers for hobbyists, developers, and educators worldwide. Its versatility and affordability make it an ideal choice for various projects, from home automation to media centers. However, one of the challenges users often face is accessing their Raspberry Pi remotely, especially when they are away from their primary network.
Fortunately, there are several methods to establish a free remote connection to your Raspberry Pi without requiring expensive hardware or software. In this section, we'll explore why remote access is essential and how it can enhance your Raspberry Pi experience.
By leveraging free tools and services, you can manage your Raspberry Pi from anywhere, ensuring that you always have control over your projects, even when you're not physically present. Whether you're troubleshooting a problem or monitoring your device's performance, remote access offers unparalleled convenience and flexibility.
Raspberry Pi Basics
Before diving into the specifics of remote connectivity, it's important to have a basic understanding of what Raspberry Pi is and how it works. Raspberry Pi is a small, affordable computer designed to promote learning and experimentation with technology. It runs on Linux-based operating systems, such as Raspbian, and supports a wide range of applications and programming languages.
Here are some key features of Raspberry Pi:
- Compact size and low power consumption
- Support for multiple programming languages, including Python and C
- Compatibility with a wide range of peripherals and accessories
- Ability to run headless (without a monitor or keyboard)
Understanding these fundamentals will help you better grasp the concepts and techniques involved in setting up a free remote connection for your Raspberry Pi.
Read also:Trace Gallagher Biography The Journey Of A Renowned Journalist
Methods for Free Remote Connection
SSH (Secure Shell)
SSH, or Secure Shell, is one of the most popular and secure methods for accessing your Raspberry Pi remotely. It allows you to connect to your device via a command-line interface, enabling you to execute commands and manage files from a distance.
To set up SSH on your Raspberry Pi:
- Enable SSH in the Raspberry Pi Configuration menu.
- Find your Raspberry Pi's IP address using the command
hostname -I. - Use an SSH client, such as PuTTY or Terminal, to connect to your Raspberry Pi using its IP address.
SSH is ideal for users who prefer a lightweight and secure connection method, especially for text-based interactions.
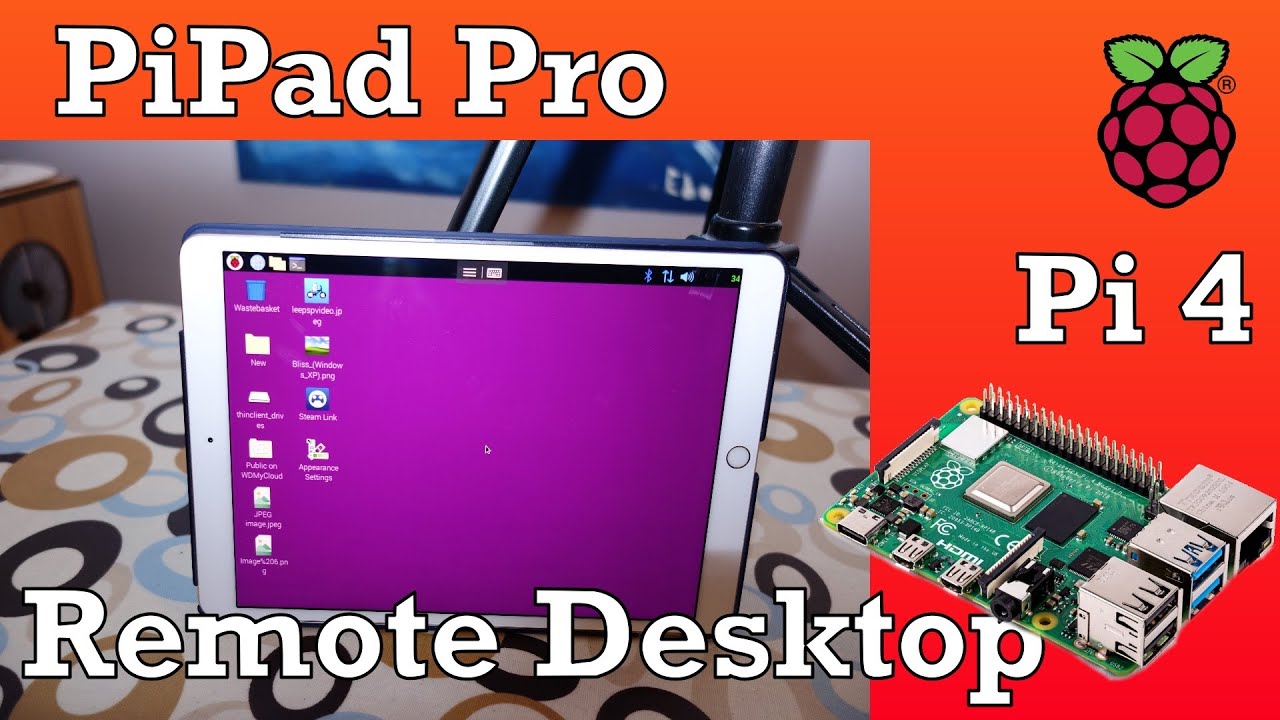
VNC (Virtual Network Computing)
VNC provides a graphical interface for remote access, allowing you to interact with your Raspberry Pi as if you were sitting in front of it. This method is particularly useful for users who need to manage graphical applications or perform tasks that require a visual interface.
To configure VNC on your Raspberry Pi:
- Install the VNC Server on your Raspberry Pi using the command
sudo apt install realvnc-vnc-server realvnc-vnc-viewer. - Enable VNC in the Raspberry Pi Configuration menu.
- Use a VNC client, such as RealVNC Viewer, to connect to your Raspberry Pi.
VNC is a great option for those who need a more interactive and user-friendly remote access experience.
Web-Based Solutions
Web-based solutions, such as Ngrok or Pagekite, allow you to expose your Raspberry Pi's services to the internet via a web interface. This method is particularly useful for running web servers or other internet-facing applications on your device.
Some popular web-based solutions include:
- Ngrok: A simple tool for creating secure tunnels to localhost.
- Pagekite: A service that allows you to expose local web services to the internet.
- LocalTunnel: A lightweight tool for sharing local web servers with the world.
These tools provide an easy way to access your Raspberry Pi's web-based applications remotely, making them ideal for developers and hobbyists alike.
Setting Up Remote Access
Setting up a free remote connection for your Raspberry Pi involves several steps, depending on the method you choose. Below, we'll walk you through the process for each of the three main methods: SSH, VNC, and web-based solutions.
For SSH:
- Enable SSH in the Raspberry Pi Configuration menu.
- Find your Raspberry Pi's IP address.
- Use an SSH client to connect to your Raspberry Pi.
For VNC:
- Install the VNC Server on your Raspberry Pi.
- Enable VNC in the Raspberry Pi Configuration menu.
- Use a VNC client to connect to your Raspberry Pi.
For web-based solutions:
- Install the desired tool (e.g., Ngrok, Pagekite) on your Raspberry Pi.
- Follow the tool's documentation to set up a tunnel or expose your local services.
- Access your Raspberry Pi's services via the provided web address.
Security Best Practices
Security is a critical consideration when setting up a remote connection to your Raspberry Pi. Exposing your device to the internet can make it vulnerable to unauthorized access and attacks. To mitigate these risks, follow these best practices:
- Use strong, unique passwords for your Raspberry Pi and remote access tools.
- Enable two-factor authentication (2FA) whenever possible.
- Regularly update your Raspberry Pi's operating system and installed software.
- Limit access to trusted networks or IP addresses.
- Use firewalls and other security measures to protect your device.
By implementing these security measures, you can ensure that your Raspberry Pi remains safe and secure while still allowing for remote access.
Troubleshooting Common Issues
Even with careful planning and setup, you may encounter issues when trying to establish a free remote connection to your Raspberry Pi. Below are some common problems and their solutions:
- Connection Refused: Ensure that SSH or VNC is enabled and that your Raspberry Pi's IP address is correct.
- Timeout Errors: Check your network connection and firewall settings to ensure that they are not blocking incoming connections.
- Authentication Failed: Verify that you are using the correct username and password for your Raspberry Pi.
If you continue to experience issues, consult the documentation for your chosen remote access method or seek assistance from online forums and communities.
Recommended Tools and Software
Several tools and software can help you set up and manage a free remote connection for your Raspberry Pi. Some of the most popular options include:
- SSH clients: PuTTY, Terminal, and Bitvise.
- VNC clients: RealVNC Viewer, TightVNC, and UltraVNC.
- Web-based tools: Ngrok, Pagekite, and LocalTunnel.
These tools offer a range of features and functionalities, so choose the one that best suits your needs and preferences.
Comparison of Remote Access Methods
When deciding which remote access method to use for your Raspberry Pi, it's important to consider the advantages and disadvantages of each option. Below is a comparison of SSH, VNC, and web-based solutions:
| Method | Advantages | Disadvantages |
|---|---|---|
| SSH | Secure, lightweight, and text-based. | Not suitable for graphical applications. |
| VNC | Graphical interface, user-friendly. | Can be slower and resource-intensive. |
| Web-Based | Easy to set up, accessible via browser. | May require additional configuration for security. |
Choose the method that aligns with your project's requirements and your personal preferences.
Use Cases for Remote Raspberry Pi Connections
Remote access to your Raspberry Pi can be applied in various scenarios, including:
- Monitoring and controlling home automation systems.
- Managing remote servers or data centers.
- Accessing media files stored on your Raspberry Pi.
- Developing and testing web applications.
By leveraging free remote connection tools, you can enhance the functionality and flexibility of your Raspberry Pi projects, enabling you to achieve more with less effort.
Future Trends in Remote Access Technology
As technology continues to evolve, so too will the methods and tools available for remote access. Some emerging trends in this field include:
- Increased adoption of cloud-based solutions for remote access.
- Advancements in security protocols and encryption methods.
- Integration of artificial intelligence and machine learning for improved user experiences.
Staying informed about these trends can help you make the most of your Raspberry Pi's capabilities and prepare for the future of remote connectivity.
Conclusion
Setting up a free remote connection for your Raspberry Pi is an essential skill for anyone looking to maximize the potential of their device. By understanding the various methods available and following best practices for security and troubleshooting, you can ensure that your Raspberry Pi remains accessible and secure from anywhere in the world.
We encourage you to experiment with the different remote access methods outlined in this guide and find the one that works best for your needs. Don't forget to share your experiences and insights with the community, and consider exploring other articles on our site for more tips and tricks.
Thank you for reading, and happy tinkering!