SSH Raspberry Pi IoT projects have gained immense popularity among tech enthusiasts and developers worldwide. As the Internet of Things (IoT) continues to expand, the Raspberry Pi has become a go-to platform for creating innovative solutions. Whether you're a beginner or an experienced developer, understanding SSH, Raspberry Pi, and IoT pricing is crucial for building successful projects.
The rise of IoT devices has transformed industries and everyday life. From smart homes to industrial automation, IoT projects powered by Raspberry Pi offer endless possibilities. However, to harness the full potential of these devices, it's essential to grasp the basics of SSH, Raspberry Pi configurations, and the associated costs.
This comprehensive guide will delve into SSH Raspberry Pi IoT projects, pricing considerations, and how to get started. Whether you're planning to build a home automation system or a large-scale IoT deployment, this article will provide you with the knowledge and resources needed to succeed.
Read also:Discover The Best Shopping Experience At Commissary Fort Stewart
Table of Contents
- Introduction to Raspberry Pi and IoT
- What is SSH?
- Raspberry Pi Models and Pricing
- Setting Up SSH on Raspberry Pi
- Popular IoT Projects Using Raspberry Pi
- Cost Analysis for Raspberry Pi IoT Projects
- Benefits of Using Raspberry Pi for IoT
- Challenges and Solutions in Raspberry Pi IoT
- Security Considerations for IoT Projects
- Conclusion and Next Steps
Introduction to Raspberry Pi and IoT
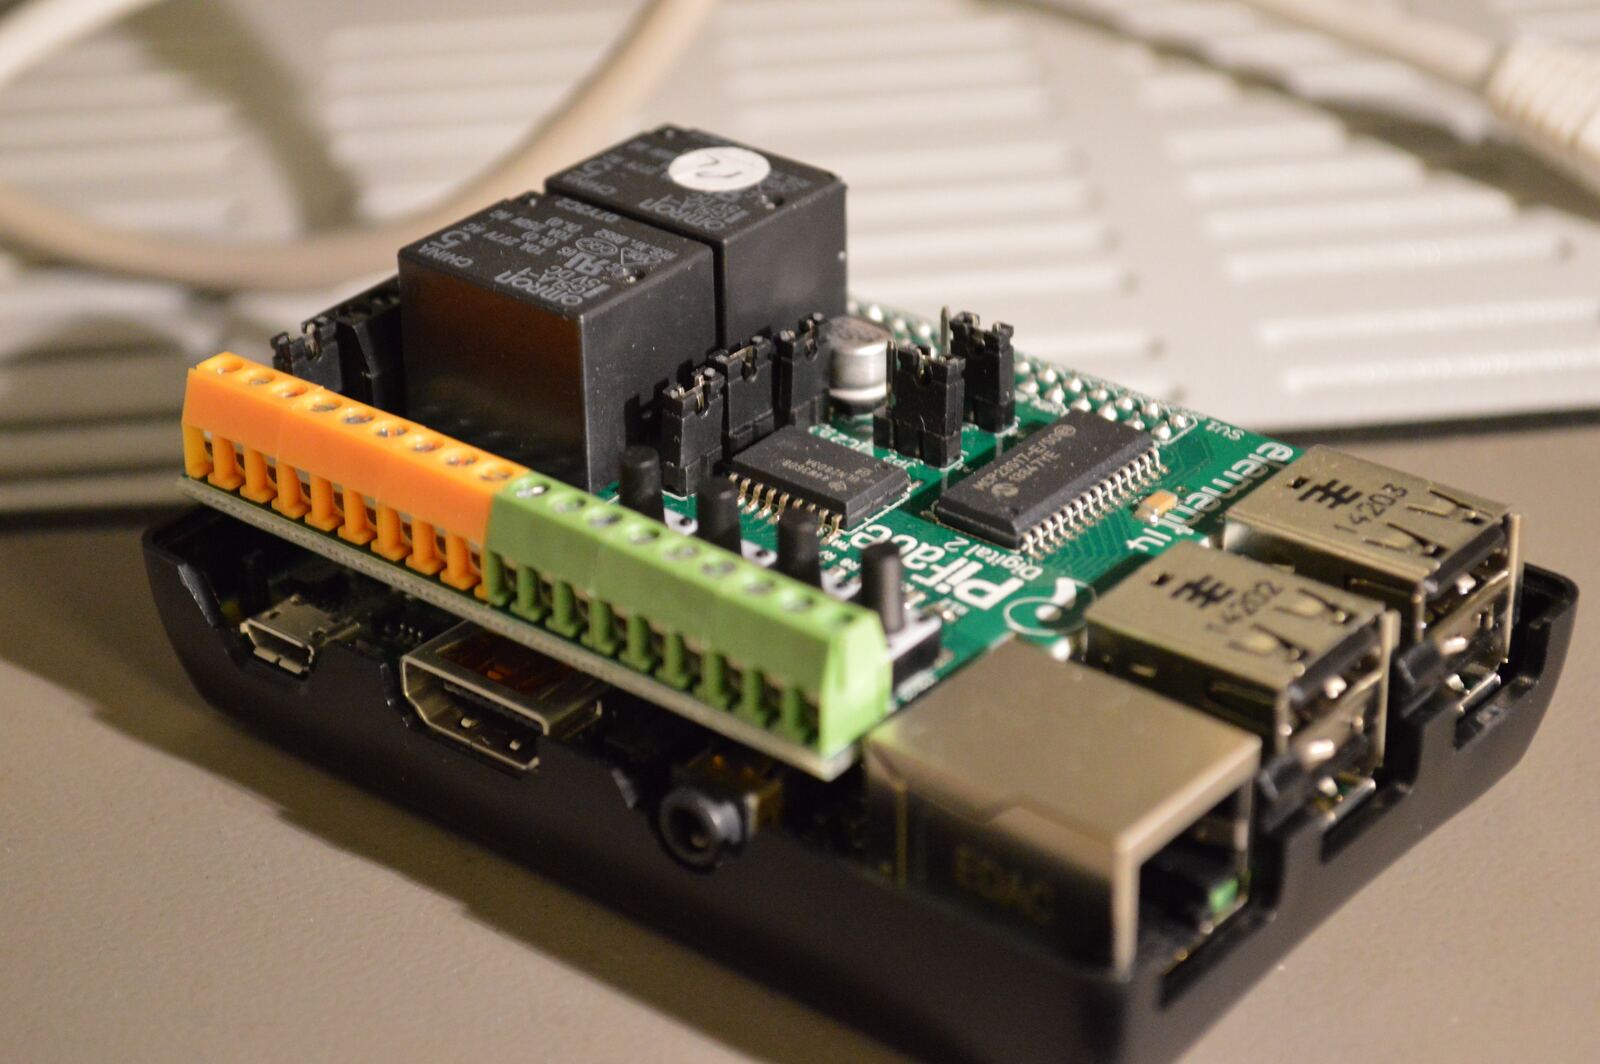
The Raspberry Pi has revolutionized the way people approach computing and electronics. Originally designed as an educational tool, it quickly became a favorite among hobbyists, developers, and professionals alike. Its affordability, versatility, and ease of use make it ideal for IoT projects.
IoT, or the Internet of Things, refers to the network of physical devices embedded with sensors, software, and connectivity, enabling them to exchange data. Combining Raspberry Pi with IoT opens up a world of opportunities for creating smart solutions. From monitoring environmental conditions to automating home appliances, the possibilities are limitless.
What is SSH?
SSH, or Secure Shell, is a cryptographic network protocol that allows secure communication between devices over an unsecured network. It provides a secure channel for remote access and file transfer, making it indispensable for managing Raspberry Pi devices remotely.
Why Use SSH for Raspberry Pi?
Using SSH for Raspberry Pi offers several advantages:
- Remote Access: Control your Raspberry Pi from anywhere in the world.
- Security: Encrypts data transmission to prevent unauthorized access.
- Efficiency: Manage multiple devices without needing physical access.
By enabling SSH, you can streamline the management of your Raspberry Pi IoT projects, ensuring smooth operation and enhanced security.
Raspberry Pi Models and Pricing
Raspberry Pi comes in various models, each catering to different needs and budgets. Understanding the differences between these models is crucial for selecting the right one for your IoT project.
Read also:The Artistry And Influence Of Ryan Ashley A Trailblazing Tattoo Artist
Overview of Popular Models
Below is a summary of the most popular Raspberry Pi models:
- Raspberry Pi 4 Model B: The latest model with improved performance and connectivity options.
- Raspberry Pi 3 Model B+: A cost-effective option with good performance for basic IoT applications.
- Raspberry Pi Zero W: Compact and affordable, ideal for lightweight projects.
Pricing Considerations
Prices for Raspberry Pi models vary based on specifications and availability. On average:
- Raspberry Pi 4 Model B: $35-$55
- Raspberry Pi 3 Model B+: $25-$35
- Raspberry Pi Zero W: $10-$15
When budgeting for your project, consider additional costs such as microSD cards, power supplies, and accessories.
Setting Up SSH on Raspberry Pi
Setting up SSH on your Raspberry Pi is a straightforward process. Follow these steps to enable SSH and connect remotely:
Step-by-Step Guide
- Enable SSH: Use the Raspberry Pi Configuration tool or create an empty file named "ssh" on the boot partition.
- Connect to Wi-Fi: Ensure your Raspberry Pi is connected to the internet.
- Find IP Address: Identify the IP address of your Raspberry Pi using tools like "ifconfig" or a network scanner.
- Use SSH Client: Open an SSH client (e.g., PuTTY for Windows or Terminal for macOS/Linux) and enter the IP address to connect.
Once connected, you can manage your Raspberry Pi remotely, making it easier to deploy and maintain IoT applications.
Popular IoT Projects Using Raspberry Pi
Raspberry Pi's versatility makes it suitable for a wide range of IoT projects. Here are some popular examples:
Smart Home Automation
Create a smart home system that controls lighting, temperature, and security using Raspberry Pi. Integrate sensors and actuators to automate tasks and enhance convenience.
Weather Monitoring Station
Build a weather monitoring station that collects data on temperature, humidity, and atmospheric pressure. Use this data for analysis or integrate it into larger systems.
Smart Agriculture
Develop a smart agriculture solution that monitors soil moisture, water levels, and crop health. Automate irrigation systems and optimize resource usage.
These projects demonstrate the potential of Raspberry Pi in solving real-world problems through IoT.
Cost Analysis for Raspberry Pi IoT Projects
While Raspberry Pi itself is affordable, additional components and software can impact the overall cost of your project. Consider the following factors:
Hardware Costs
- Raspberry Pi Board
- MicroSD Card
- Power Supply
- Sensors and Actuators
Software Costs
Most software used in Raspberry Pi projects is open-source and free. However, consider licensing costs for proprietary solutions if needed.
Long-Term Costs
Factor in ongoing expenses such as cloud services, data storage, and maintenance. Planning for these costs ensures the sustainability of your IoT project.
Benefits of Using Raspberry Pi for IoT
Raspberry Pi offers numerous advantages for IoT projects:
- Cost-Effective: Affordable hardware and software options.
- Community Support: A vast community of developers providing resources and assistance.
- Flexibility: Compatible with a wide range of sensors and peripherals.
- Scalability: Suitable for small-scale experiments to large-scale deployments.
These benefits make Raspberry Pi an ideal choice for anyone looking to explore IoT.
Challenges and Solutions in Raspberry Pi IoT
While Raspberry Pi offers many advantages, there are challenges to consider:
Hardware Limitations
Raspberry Pi may not have the processing power required for complex applications. Use external processors or cloud services to offload heavy computations.
Software Compatibility
Ensure compatibility between software libraries and hardware components. Test thoroughly before deploying your project.
Power Management
IoT devices often rely on battery power. Implement power-saving techniques to extend device lifespan.
Addressing these challenges ensures the success and reliability of your Raspberry Pi IoT projects.
Security Considerations for IoT Projects
Security is a critical aspect of IoT projects. Protecting your devices and data from unauthorized access is essential. Follow these best practices:
- Use Strong Passwords: Avoid using default credentials and opt for complex passwords.
- Enable Firewall: Configure firewalls to restrict unauthorized access.
- Regular Updates: Keep your operating system and software up to date to patch vulnerabilities.
By prioritizing security, you can safeguard your Raspberry Pi IoT projects and maintain user trust.
Conclusion and Next Steps
Raspberry Pi IoT projects powered by SSH offer a powerful combination of affordability, flexibility, and security. Whether you're building a smart home system or a large-scale industrial solution, understanding the basics of SSH, Raspberry Pi, and IoT pricing is crucial for success.
We encourage you to take the next step by experimenting with your own Raspberry Pi IoT project. Share your experiences and insights in the comments below. For more resources and tutorials, explore our other articles on IoT and Raspberry Pi.
Stay connected and continue learning to unlock the full potential of IoT with Raspberry Pi!